How to Send Automated Welcome Emails in Firebase with Cloud Functions
Aron Schüler Published
Intro
First impressions matter, and welcoming new users with a personalized email is a key part of forming a relationship with your users. When users sign up for your application, an automated welcome email can help them feel valued, provide important information, and guide them toward their first successful interaction with your product. It is also a good reminder that they signed up at all 😉
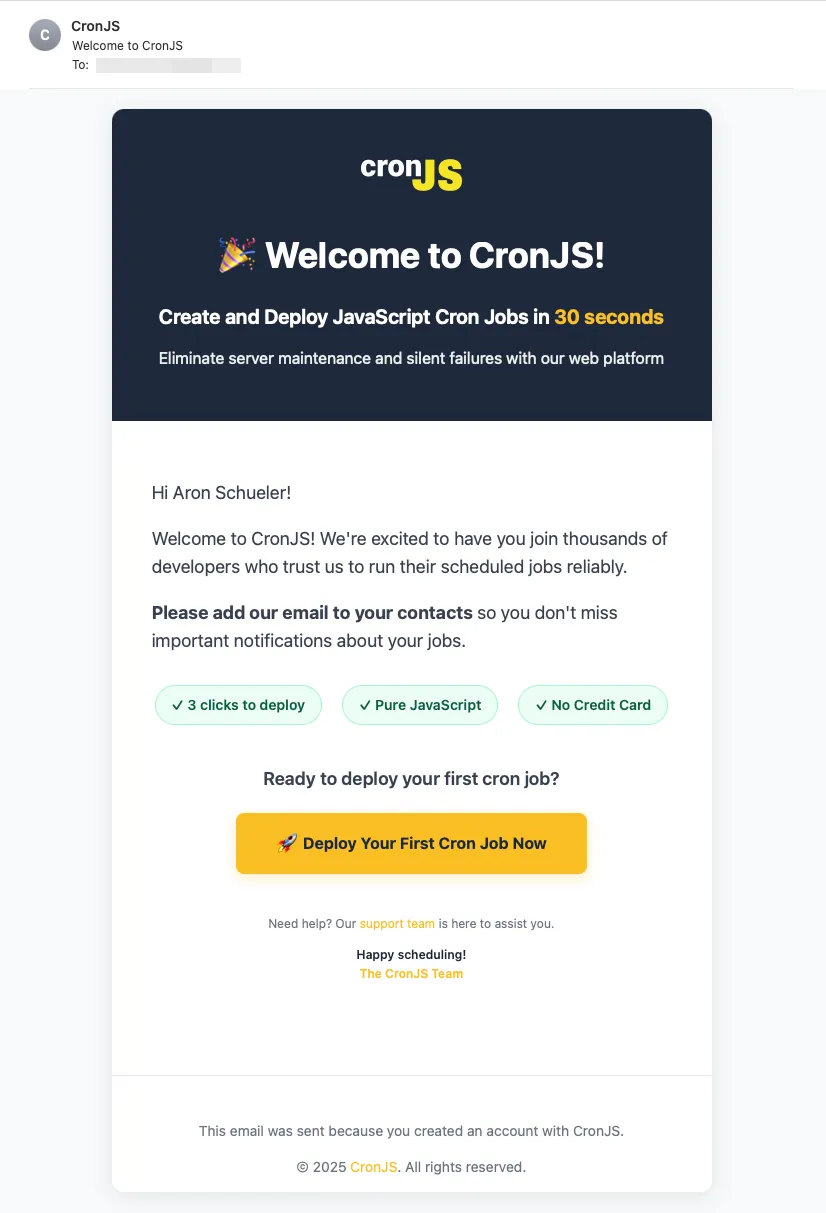
When I build products with Firebase, I send automated welcome emails using Cloud Functions and the official Firestore Send Email extension. You don’t need complex server setups and it gives you a scalable solution that will work for no matter how many signups per hour you get. I just did the same for CronJS, a JavaScript cron job platform:
In this tutorial, we’ll walk through setting up automated welcome emails that trigger whenever a new user creates an account, complete with beautiful HTML templates and proper email delivery.
Step-by-Step Guide
Prerequisites
You should have a Firebase project set up with Firestore enabled and either credentials for sending mail via SMTP ready or use a service like SendGrid, Mailgun or Amazon SES. You also need to enable ‘Blocking Functions’ in the Firebase Console under Authentication -> Settings -> Blocking Functions. Note that this is only available for Firebase Projects with a Blaze plan and that using Google Cloud Identity Platform comes with a very small cost per MAU (Monthly Active Users).
Step 1: Install the Firestore Send Email Extension
The Firestore Send Email extension is Firebase’s official solution for sending emails from your application. It monitors a Firestore collection for new documents and automatically sends emails based on the document data.
First, navigate to the Firebase Extensions page and install the “Trigger Email” extension. During installation, you’ll need to configure:
- Collection path: Set this to
mail(or your preferred collection name) - Email provider: Choose between SMTP credentials from your own mail server or a service like SendGrid
- SMTP configuration: Provide your email server details or API keys
For production applications, we recommend using a dedicated email service like SendGrid, Mailgun, or Amazon SES for better deliverability and analytics.
Step 2: Set Up the Firebase Cloud Function
Create a new Cloud Function that will trigger when users are created. This function will use the beforeUserCreated trigger to send welcome emails immediately after account creation.
Start by importing the necessary Firebase modules:
import type { AuthUserRecord } from 'firebase-functions/v2/identity';
import * as admin from 'firebase-admin';
import * as logger from 'firebase-functions/logger';
import { beforeUserCreated } from 'firebase-functions/v2/identity';

admin.initializeApp();
Step 3: Create the Email Sending Function
Create a helper function that adds email documents to your Firestore collection. The Firestore Send Email extension will automatically process these documents:
function sendEmail(to: string, subject: string, html: string) {
  admin
    .firestore()
    .collection('mail')
    .add({
      to,
      message: {
        subject,
        html,
      },
    });
}
This function creates a new document in the mail collection with the recipient’s email address, subject line, and HTML content. The extension monitors this collection and sends emails automatically.
Step 4: Design Your Welcome Email Template
Create a function that generates a beautiful, responsive HTML email template. Here’s an example that includes modern styling and personalization:
export function getWelcomeEmail(user: AuthUserRecord) {
  const displayName = user.displayName || 'there';
  const welcomeHtml = `
    <!DOCTYPE html>
    <html>
    <head>
      <meta charset="utf-8">
      <meta name="viewport" content="width=device-width, initial-scale=1.0">
      <title>Welcome to Your App</title>
      <style>
        body {
          font-family: -apple-system, BlinkMacSystemFont, 'Segoe UI', Roboto, sans-serif;
          line-height: 1.6;
          color: #333;
          max-width: 600px;
          margin: 0 auto;
          padding: 20px;
          background-color: #f8f9fa;
        }
        .container {
          background: white;
          border-radius: 12px;
          overflow: hidden;
          box-shadow: 0 4px 20px rgba(0, 0, 0, 0.1);
        }
        .header {
          background: #1e293b;
          color: white;
          padding: 40px;
          text-align: center;
        }
        .content {
          padding: 40px;
        }
        .cta-button {
          display: inline-block;
          background: #3b82f6;
          color: white;
          padding: 12px 24px;
          text-decoration: none;
          border-radius: 6px;
          font-weight: 600;
        }
      </style>
    </head>
    <body>
      <div class="container">
        <div class="header">
          <h1>Welcome to Your App!</h1>
        </div>
        <div class="content">
          <p>Hi ${displayName}!</p>
          <p>Thanks for joining us. We're excited to have you on board!</p>
          <p style="text-align: center; margin: 30px 0;">
            <a href="https://yourapp.com/dashboard" class="cta-button">Get Started</a>
          </p>
        </div>
      </div>
    </body>
    </html>
  `;
  return welcomeHtml;
}
This template includes responsive design, modern styling, and personalization using the user’s display name or a friendly fallback. Remember that email styling can be tricky, so be sure to test send this email to yourself and check different clients (especially Outlook).
Step 5: Implement the Welcome Email Trigger
Finally, create the Cloud Function that ties everything together. This function triggers when a new user is created and sends the welcome email:
export const sendWelcomeEmail = beforeUserCreated(async (event) => {
  const user = event.data;

  if (!user) {
    logger.warn("User data is undefined");
    return;
  }

  const email = user.email;
  if (!email) {
    logger.warn("User created without email address");
    return;
  }

  const welcomeHtml = getWelcomeEmail(user);
  sendEmail(email, "Welcome to Your App! 🎉", welcomeHtml);

  logger.info(`Welcome email queued for ${email}`);
});
This function includes proper error handling to ensure it doesn’t fail if user data is missing, and it logs successful operations for debugging.
Step 6: Test and Deploy and Test Again
You can test your email cloudfunction with a simple test script, I use this: https://gist.github.com/thraizz/0b7cd21f5d9989690945556162c8c478 Here, make sure that it looks correct both on mobile and on desktop and maybe try various email clients too.
If it looks good, you can deploy your Cloud Function using the Firebase CLI:
firebase deploy --only functionsNext, test the implementation and flow by creating a new user account in your application. You should see:
- A new document created in the
mailcollection - The welcome email delivered to the user’s inbox
- Logs in the Firebase Console showing successful execution
Conclusion
Implementing automated welcome emails in Firebase is a nice way to improve user onboarding and in my opinion necessary to create a professional first impression, which is essential in this time of rushed apps and launches. Using the Firestore Send Email extension combined with Cloud Functions, you get a scalable, maintenance-free solution that automatically grows with your user base.
This approach include automatic triggering when users sign up, professional HTML email templates that work across all email clients, robust error handling and logging, and scalability without server management. Remember to personalize your emails with user data, keep your templates mobile-responsive, and monitor your email delivery rates through your chosen email service provider.
This setup also provides a solid foundation for more advanced email automation, such as onboarding sequences, feature announcements, or re-engagement campaigns. Have you implemented welcome emails in your Firebase project? Share your experiences and any customizations you’ve made in the comments below!